 I have mentioned kombucha in a number of posts as a great way to consume probiotics. Kombucha is sweet tea that is fermented by a symbiotic culture of bacteria and yeast and can contain up to 40 different probiotic organisms. Exactly which yeast and bacteria varies by the culture, but the yeast fraction almost always includes the beneficial Saccharomyces cerevisiae. The bacteria are predominantly Acetobacter (most commonly Gluconacetobacter xylinus), an important probiotic. Another good source of acetobacter bacteria is raw vinegar, but drinking kombucha is much more enjoyable!!!
Kombucha is actually very easy to make/grow at home. I find the time commitment to be minimal but I get to enjoy a half bottle of delicious kombucha every evening with my supper for roughly one tenth the cost of buying a bottle at Whole Foods. I have two favorite How To sites to refer you to (here and here). I hope that between these two websites and my directions below, you will try making this delightful drink on your own! You can also purchase a Kombucha Starter Kit with everything you need including detailed instructions.
Paleo Principles
200+ Healthy and Delicious Recipes
20 Meal Plans for a variety of goals
Step-By-Step Guides
I LOVE this book. The science is awesome. I’ve learned a ton without feeling overwhelmed. The paleo principles just takes my understanding to the next level!!!
Janet

If you have decided that you are interested in growing your own kombucha, the fastest way to get started is to either get a Kombucha Scoby (also known as the kombucha starter, kombucha mushroom or the kombucha mother) from a friend or buy one online (some Health Food stores may carry them). You can also start kombucha from a store-bought bottle, which sets you back about 2 weeks, but costs substantially less than buying a scoby (I followed the directions on this site). This is what I did, and while it only cost about $4 to grow my initial scoby compared to about $20 if I had bought one off amazon, I was drinking store-bought kombucha the entire time I was waiting and easily drank $20 worth in that 2 weeks. You can also buy a kombucha starter kit which has everything you need, including detailed directions.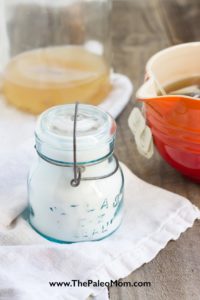
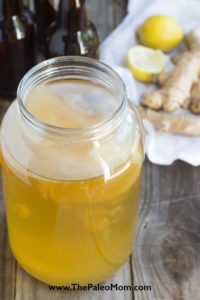
The process of growing kombucha is actually verysimple. Make some hot tea (any black or green tea works well) and add sugar while it’s hot (you can either do this right away or after the tea has steeped a while). Let the tea cool. Pour into your big glass jar (Half Gallon Wide Mouth Canning Jars are perfect; I use half gallon cracker jars that I bought at Target for about $6 each), top up with some water, put your scoby in with a little of the previous batch of komubucha tea. Secure some cheese cloth, muslin, or paper towel over the top of the jar with an elastic band and place the jar somewhere out of the way where it won’t be disturbed (it doesn’t need to be in the dark, although a cupboard or pantry shelf will work just fine, but it doesn’t like direct sunlight). I let my kombucha culture for 14-17 days so that there will be very little sugar in the finished product. You can let your kombucha culture for as little as week, if you want sweeter tea. I think culturing for about 10-12 days replicates the sweetness of store-bought kombucha fairly well. I’ve let it go as long as 23 days before (I don’t know how I forgot about it for so long, but I did!) and it was still fine (not sure it would take this abuse every time, though). After it’s done culturing, you set-up the next batch, but the cultured tea isn’t quite ready to drink. It needs to go through a second, anaerobic fermentation to get bubbly (you can skip this if you prefer). This is also where you get to add something to flavor the tea, if desired. You can pour the tea into small glass Mason Jars or Glass Bottles (I kept a bunch of glass bottles from the store-bought brand while I was growing my first scoby and have used those ever since), add a little juice, herbs, spices and/or fresh fruit, screw on the lid and let it sit for 3-5 days. Put it in the fridge until you are ready to drink it!
Guide to Nutrivore e-book
Nutrivore is the simple yet revolutionary concept:
Choose foods to meet the body’s nutritional needs!
I’m very excited about the Nutrivore information! Thank you so much for all your research and hard work you put into this kind of information for all of us to use!!
Debbie
Tools specific to growing kombucha:
1. ½ gallon glass jar with a wide opening (Half Gallon Wide Mouth Canning Jars are perfect or something like a glass cracker jar; you can also double this recipe and grow your kombucha in a 1-Gallon Jar)
2. 16 oz Glass Bottles for secondary fermentation (I get three 16oz bottles to 1 half gallon primary culture)
3. Kombucha Scoby (start your own with a store-bought bottle or purchase one ready to go)
4. Some kombucha tea from the previous culture (if you buy a scoby it comes packaged with this, don’t throw it out!)
5. Teapot of similar to brew tea
6. And electric or stovetop kettle
7. Some cheese cloth, muslin, or paper towel and an elastic band to cover the jar so the kombucha can breathe but bugs don’t get in.
8. Sugar and Tea
I use regular old refined white granulated sugar to feed my kombucha. It just wants sucrose and doesn’t care that it’s refined. It’s much cheaper than using my evaporated cane juice for it (although I suppose if I did use evaporated cane juice, I would add some trace minerals to my tea). There is so little sugar left in the finished product (if you culture as long as I do), that I really don’t worry about the carbohydrate load of this beverage. Most of the caffeine is typically degraded during culturing as well. I even let my 2.5-year old drink it (she loves it!) and haven’t noticed any of the typical symptoms of giving a child caffeine (whereas I do notice effects if she has chocolate). I did try growing a scoby in rooibos tea to try and get a completely caffeine-free tea, but it tasted disgusting. I don’t know if it wasn’t acidic enough or if the caffeine is actually important for the health of the scoby, but it did not work!
Kombucha is grown as a continuous culture. So, every time you are ready to put the tea into a secondary fermentation you are starting a new primary fermentation. And, every time you make a batch of kombucha, you get an additional scoby (a new one forms on the surface and the old ones stack underneath). I typically move 1-2 scobies from the old batch of tea to the new jar of tea that I am growing and compost the oldest scoby (or scobies, which are the ones on the bottom). This website has some neat ideas for what you can do with the old scobies (the ones closest to the bottom). I have eaten them and they are not tasty.
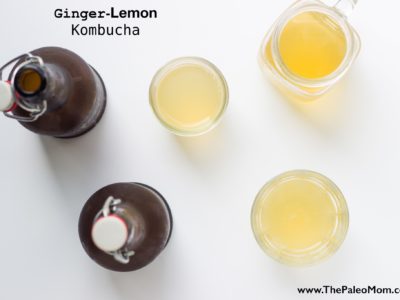
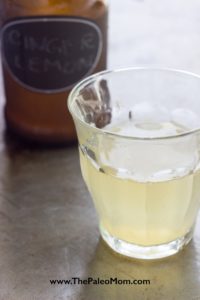
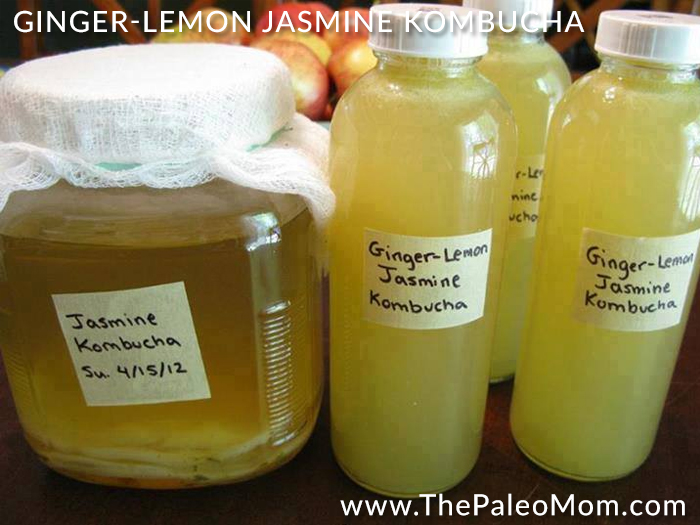
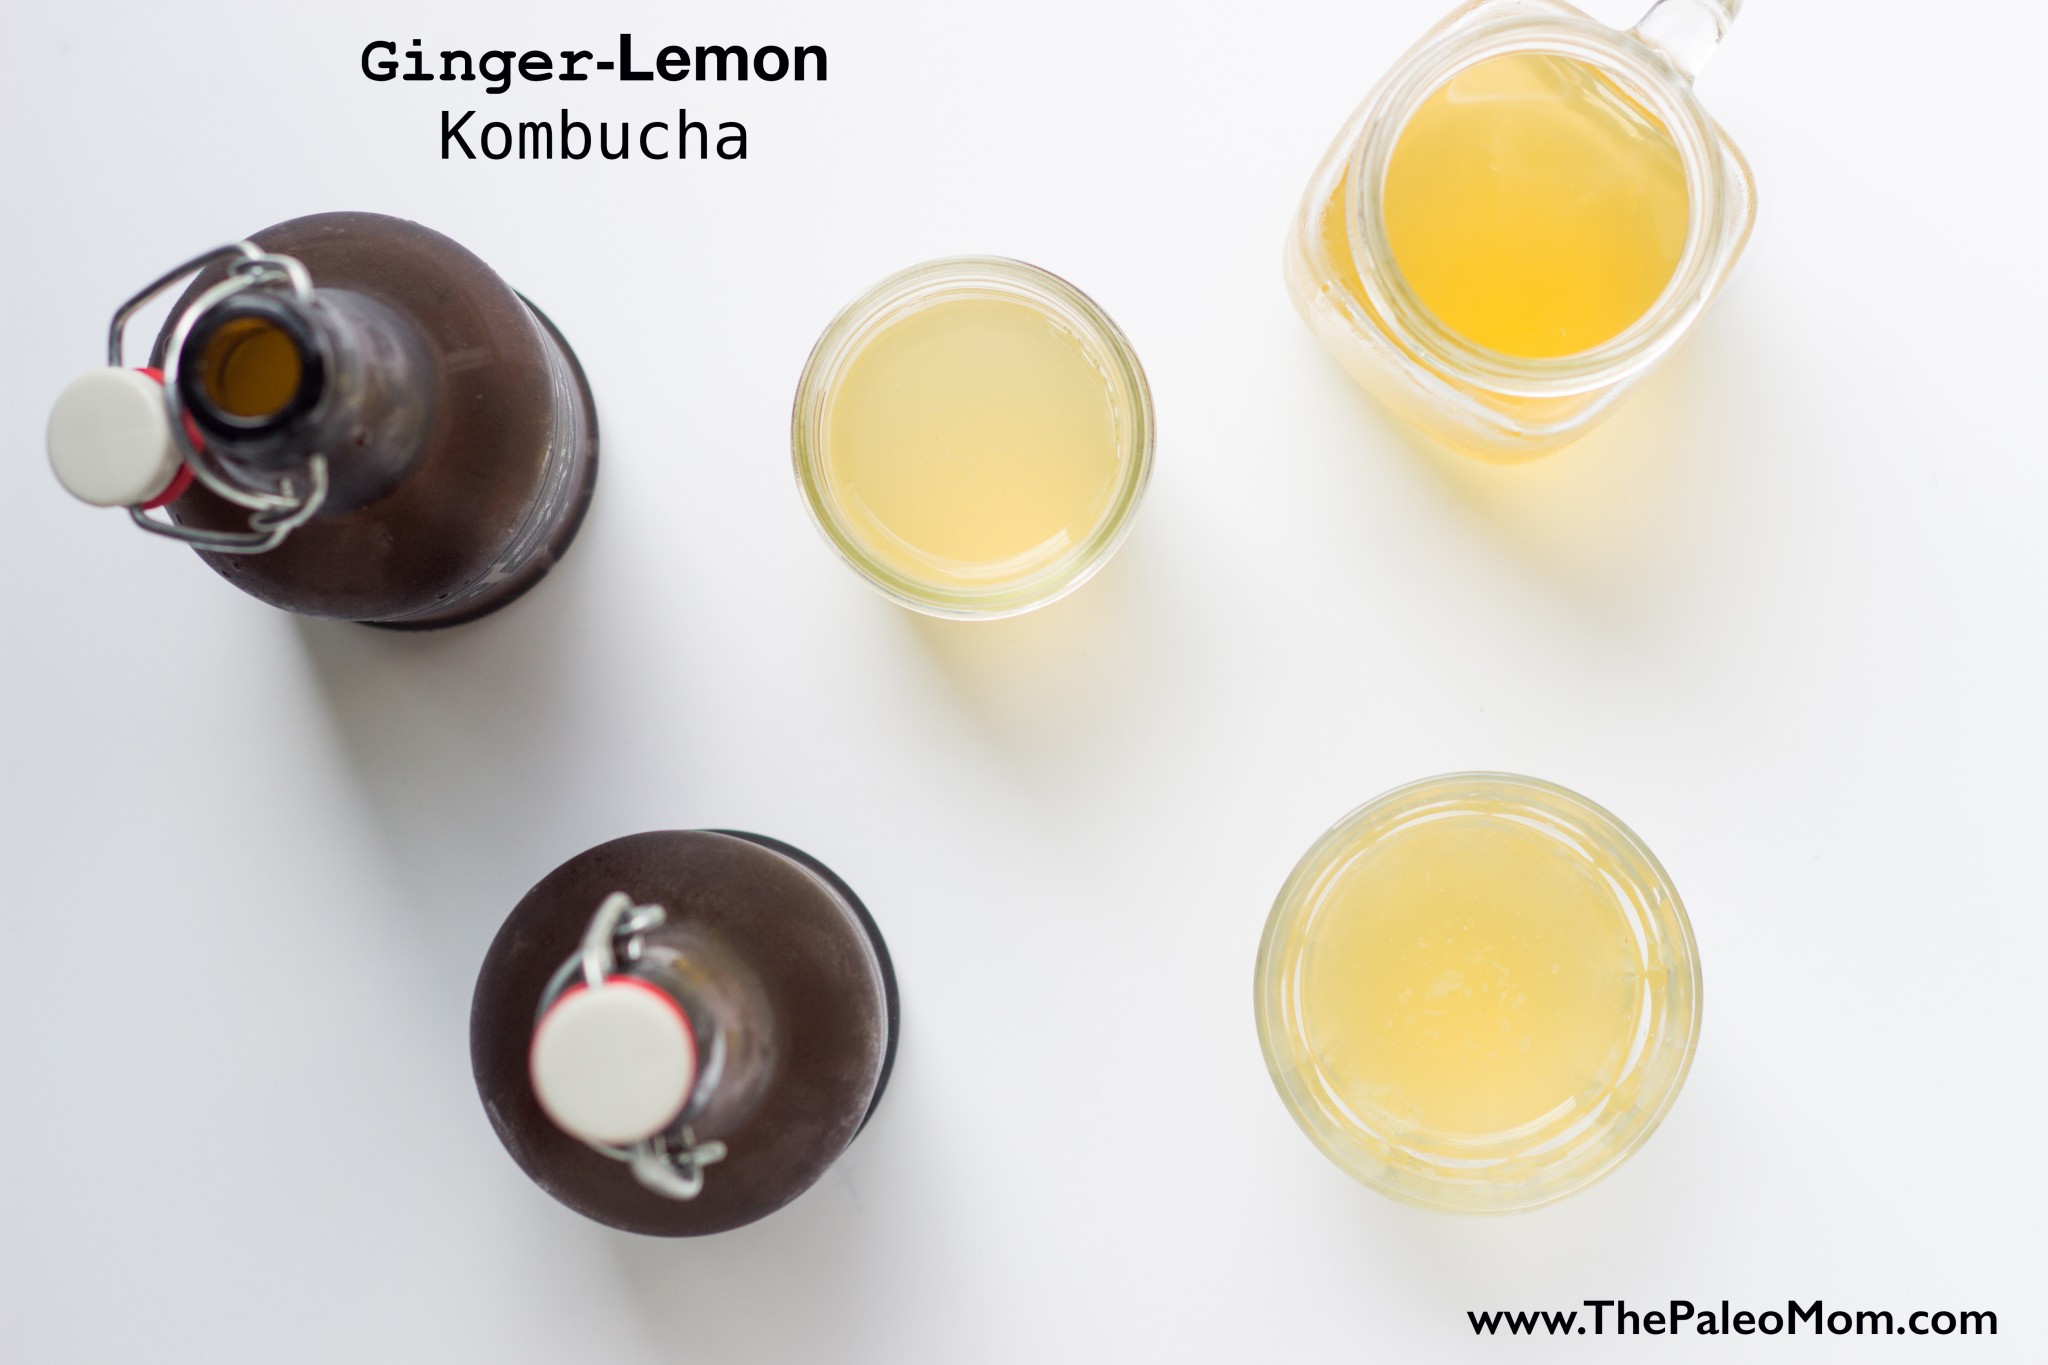
My favorite kombucha is ginger-lemon jasmine. I grow the scoby in sweetened jasmine tea (tea quality makes a big difference to the final taste). During the second fermentation, I add fresh ginger juice and fresh lemon juice. It’s so refreshing and light, kindof like lemonade, kindof like iced tea, kindof like a wine spritzer, and completely unique all at the same time. Here are the directions once you have your scoby for a half gallon jar (which yields three 16 oz bottles).
Nutrivore Weekly Serving Matrix
An easy-to-use and flexible weekly checklist
to help you maximize nutrient-density.
The Weekly Serving Matrix is very helpful! I’ve been eating along these lines but this really helps me know where to focus vs. which foods serve a more secondary role. It’s super helpful and has taken a lot of worry out of my meal planning. Thanks!
Jan

Ingredients (Primary Fermentation):
- 5 servings Jasmine Tea (or about 5 tsp Loose Leaf Tea)
- ¾ cups Sugar
- 1 Kombucha Scoby
- ½ cup of previous batch of komucha tea
1. Pour boiling water over teabags in a large teapot (make 4-6 cups of tea).
2. When tea has steeped (preferably about 20 minutes), stir in sugar until dissolved.
3. Allow tea to cool to room temperature. Remove tea bags or pour tea through a sieve to remove leaves.
4. Place tea in ½ gallon jar. Place scoby in the tea (it’s okay if it sinks, it will typically float up in a couple of days). Add the ½ cup of the previous batch of kombucha tea to the jar (this helps get the culture going more quickly). Top up with room temperature filtered water until just before the jar narrows at the top.
5. Cover with cheese cloth, muslin or paper towel held on with a rubber band.
6. Allow to ferment for 14-17 days.
The Nutrivore Collection
Save $10 on Guide to Nutrivore and the Nutrivore Weekly Serving Matrix!
I never realized how important nutrients are and how intricately the body works! I can’t thank you enough for sharing all your knowledge and insights.
Cheryl
Ingredients (Secondary Fermentation):
- ½ lb Fresh Ginger (this makes enough ginger juice for 12-16 bottles)
- 2 lemons
1. Cut ginger up into 1” chunks (you don’t need to peel it) and place in your blender. Fill with water until the ginger is just covered (about 1½-2 cups water). Blend on high for 3-4 minutes. Filter ginger pulp by straining through a metal strainer. This ginger juice can be frozen in ice cube trays for future batches of kombucha (also lovely to add to hot water for ginger tea).
2. Juice lemons.
3. Prepare three 16oz bottles or mason jars each with 1½-2 Tbsp of ginger juice and 1½-2 Tbsp of lemon juice.
4. Remove the kombucha scoby from the jar with clean hands (place into a new ½ gallon jar of sweetened tea that is ready to go for the next batch, remembering to reserve ½ cup of this batch of kombucha to add to the new batch).
5. Stir the tea with a wooden spoon (this gets all the dead yeast that sinks to the bottom back into the tea, which is very nutritious). Pour into prepared bottles (I find it easier to pour into a large measuring cup and then use the measuring cup to pour into the bottles).
6. Tighten the caps on the bottles and allow to ferment for 3-5 days. Place in the fridge until you are ready to enjoy!
7. Finish up your new culture as per the Primary Fermentation directions above.

 Asian-Inspired Chicken Wings